

Prepping the Nexkey Mortise Cylinder for the Ilco 4500 Series Mortise Cylinder Deadbolt
IMPORTANT NOTE
To prevent post-installation delays, the Nexkey system must be fully commissioned before installing the hardware. Please refer to this walkthrough demonstrating how to commission a new system via Nexkey’s Reseller Portal.

Kit includes:
Nexkey Mortise Cylinder
Standard Cam
Battery
T6 Screwdriver
O-rings for waterproofing
What to bring to installation (not included):
Ilco 4500 series Mortise Cylinder Deadbolt and Ilco Fan Cam #863R-00-10
Screwdrivers:
Philips #1, T6 Torx, T15 Torx
Smartphone with the Nexkey App


Prepping the Nexkey Mortise Cylinder for the Ilco 4500 Series Deadbolt
The Nexkey Mortise Cylinder is shipped with its handle freely rotating between the 8 and 4 o’clock positions. To ensure proper functionality with the Ilco 4500 Series Deadbolt, the cylinder must be configured to lock at the 12 o’clock position. Follow the instructions below to complete this configuration.
Step 1
Use the Philips #1 screwdriver to remove the 2 Adams Rite cam screws. Set the screws aside as they will be used again. The Adams Rite cam will not be reused.
Step 2
Use the Philips #1 screwdriver to remove the Cam Adapter. Set the cam adaptor and screws aside as they will be used again.
Step 3
Use the T15 Torx screwdriver to remove the 2 back mortise housing screws. Set the screws aside as they will be used again.
Step 4
Remove handle screw with Torx T6 screwdriver. Set handle and handle screw aside.
Step 5
Remove both the front and rear mortise housing from the lock body.
Step 6 - Please be aware that the locking pin is spring-loaded!
Install battery and handle. Tap face of the handle to unlock the Core, then rotate the handle and pull out the plug of the lock body.
Step 7
The plug will be inserted into the opposite side of the lock body from which it was removed.
Step 8
Tap face of the handle to unlock the Core. Depress the locking pin with your finger and insert the plug back into the lock body.
Step 9
Reinstall the front and back mortise housing, cam adapter and the Ilco Fan Cam with the proper screws.
Step 10
The Nexkey mortise cylinder will lock at 12 and is now ready to install in the Ilco 4500 series deadbolt.
Unlocking the Nexkey Core
Step 1
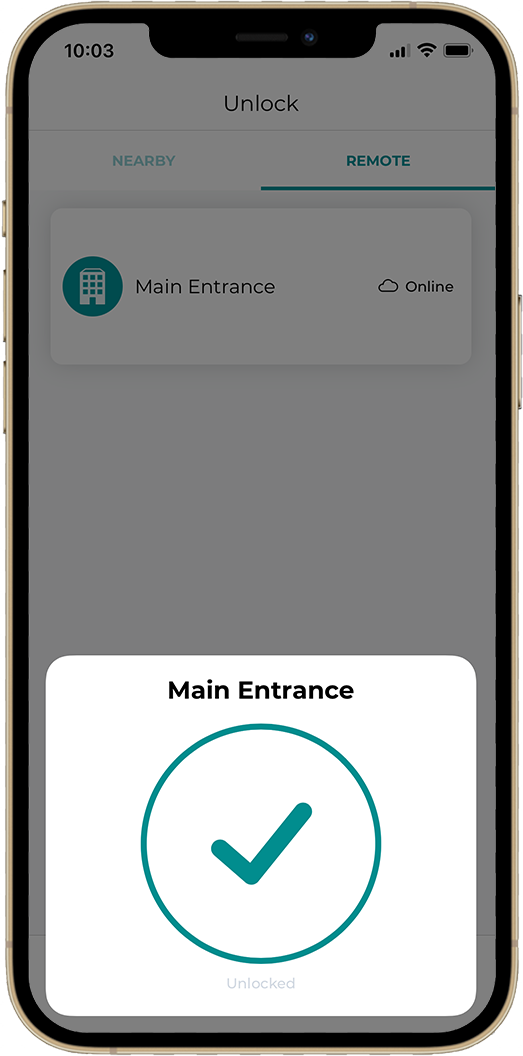
Open Nexkey App, tap the front of the Core and the blue LED will begin blinking.
Step 2
Once the LED turns solid blue, then you can twist as you would a key. The resistance and turn will be the same as with the lock’s original key.
Different LED Statuses
Slow Blink: Device is attempting to connect to the Nexkey app
Fast Blink: Device found, Authentication in process
Solid LED: Core unlocked
Solid LED for longer than 10 seconds: Device needs to be power cycled
Testing Nexkey Core
The Core should not change the function of the lock. The lock should operate in the same manner as it did with a key.
Step 1
Keeping the door open, open the app and tap the front of the Core. The LED will start to blink, when it turns solid you should be able to rotate the Core and unlock the door.
Step 2
Once you have gained confidence in the lock operation, close and lock the door. Test the Core.
Step 3
You may be able to turn the Core but the door should not unlock when the LED is off
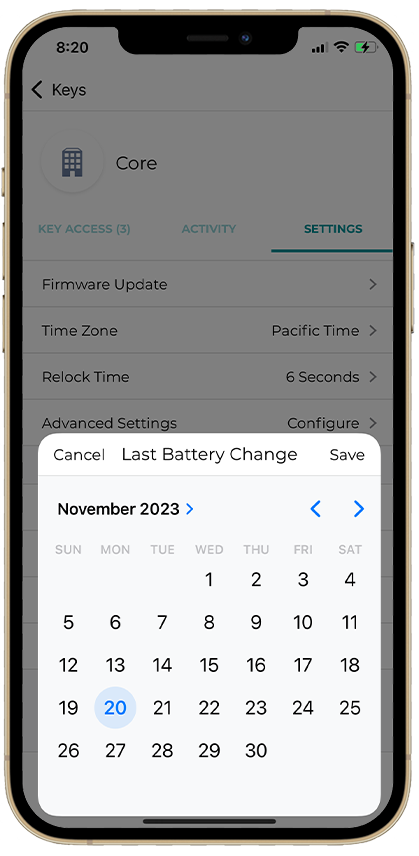
Update Last Battery Change Setting in the Nexkey App
By performing this step, Nexkey will send a email when it's time to replace the battery again.
Step 1. Select Keys tab
Step 2. Select the lock you just changed the battery in
Step 3. Select Settings and scroll down to the bottom
Step 4. Select Last Battery Change
Step 5. Select date you installed the core
-
You may have turned the Core prematurely which locks the Core as a safety feature. Reboot the Nexkey app, tap the Core again, and wait for the checkmark before you turn to open the door.
-
The battery can be replaced from directly from the front side of the lock.
-
Power cycle the Core by removing the battery for 20 seconds and reinstalling.